How to run the setup wizard
Turn a rate sheet or your public website into lakes, boat types, rates, and a starter fleet — with you confirming every rate and fee.
Before you start
- Decide whether you rent camping gear (tents, packs) as well as boats.
- Have a public rates URL or a pasted rate sheet ready.
Steps
- Open Set up your outfitter (
/onboarding) if you aren’t already there. - How you run — pick what you rent (canoes, Sea-Doos, dog teams, snowmobiles, ATVs, or Other with your own words). Then toggle multi-lake, deliveries, online booking, card payments, hull codes, camping gear. These only turn modules on. You can change the words later in Settings → Business.
- Your documents — paste a site URL to crawl, upload a PDF/spreadsheet, or paste text. Wait for proposals.
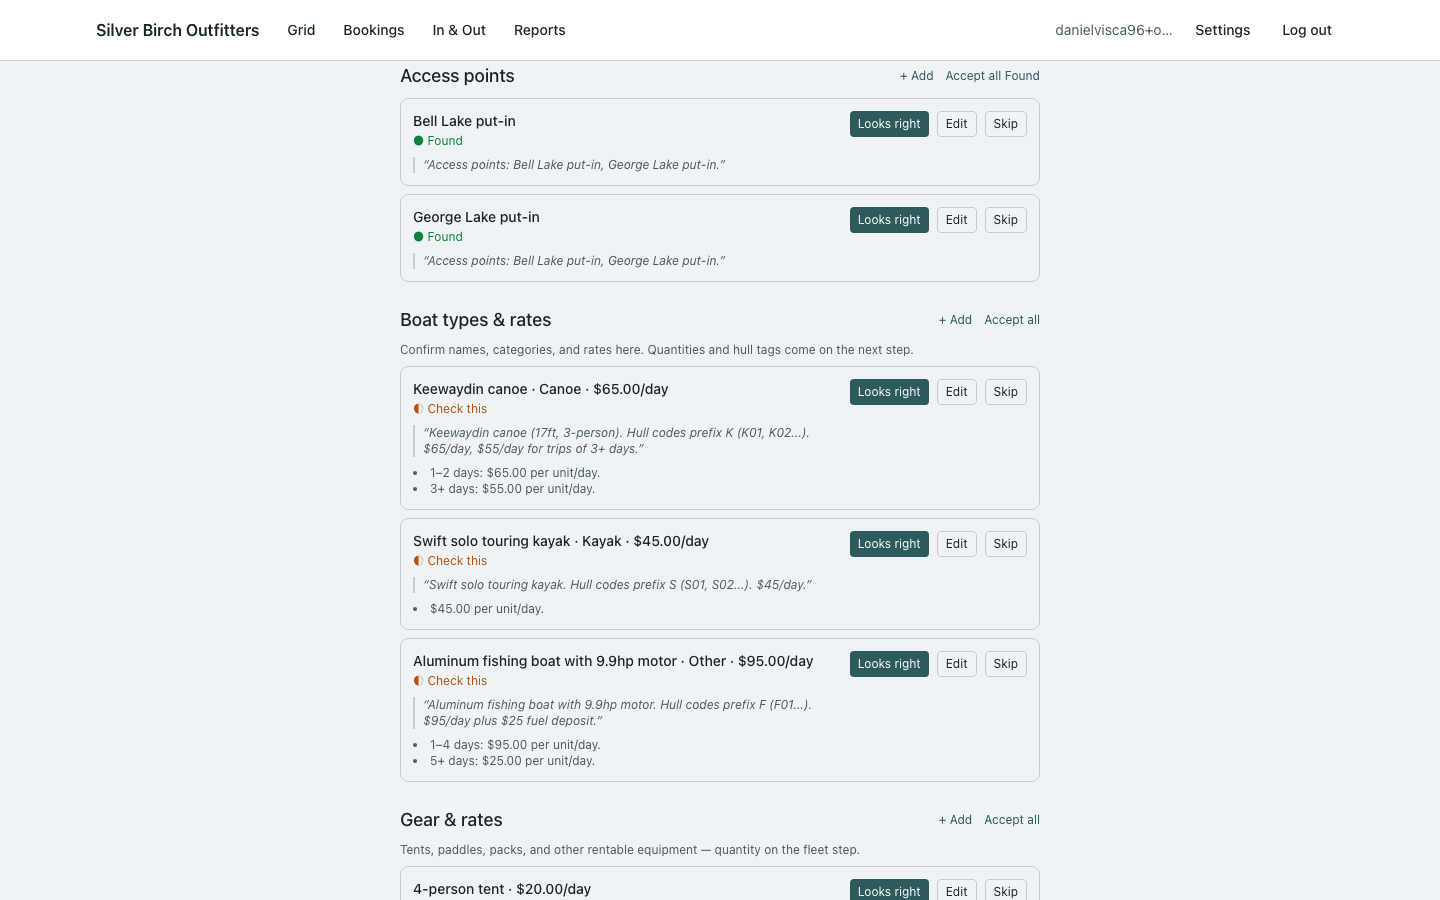
- Review — accept, edit, or reject each card. Rates and fees stay on CHECK until you say so.
- Fleet — how many of each type, code prefixes, where they’re stored. Use Some are at another lake… only when one type is split across put-ins.
- Gear (if needed) — pool counts for paddles, PFDs, tents. Inclusion children from “canoe rentals include 2 paddles” show up here as gear to stock.
- Apply — creates the accepted items. Nothing is live until this step.
Tips
- Free-text notes on the fleet step (“12 Keewaydin at Bell, 4 at George”) fill quantities when you click Fill from notes.
- Reject anything the crawl invented. Wrong rates are worse than empty rates.
Limits
- The crawl won’t invent hull codes from thin air — you still type counts.
- Packages and inclusions need a clear page (“complete outfitting”, “includes 2 paddles”) or you’ll add them by hand later.
- If analysis is already running, wait — a second import doesn’t stack.
- A quicker pass (pattern matching) can kick in after a lot of analysis in one week. Let us know if you need a fuller read. You still review every rate before Apply.